
If this is your first time dropping in on the Christmas Once a Month Project Posts, it all started over here you can also check out the button on the right margin (the one with the stockings) She has some projects to show too. I am trying to catch up, so I am on project three now and project four is due on Monday, YIKES! Here is my first and second projects so far.
For the third project, I decided on doing these little ornaments which I have had in my mind for a long time. Finally, I have an excuse to make them and they really were a quick therapy session, because they were so easy to do, felt is fabulous! Originally, I was going to make them poly-filled (like little pillows) but that just didn't have the look I wanted and was complicating the simplicity of it all.

Some of you might recognize these as Mary Engelbreit designs. And they are. She has really been an inspiration to me and so many other "wanna be artists." She is very generous in sharing how she has followed her dream since she was 10 years old and has been true to her own style. (You go Mary!!) I have a page called ME Inspired where I have made projects based on her art and it has been fun to do. These ornaments are more for that category.
Here I am with her in 2009 I went to her Home Companion Workshop in St. Louis. (Thanks to the hubby's insistence that I meet my "inspiration") But I digress.....
Here I am with her in 2009 I went to her Home Companion Workshop in St. Louis. (Thanks to the hubby's insistence that I meet my "inspiration") But I digress.....

Here is the wrapping paper by her that I used. It's way too pretty to wrap something in for someone to just tear it up (no offense) but I could use this to decoupage and many other craft ideas, I am sure.

Here is a close up of the tree. I used red sequins and a yellow glass bead for each of the FEFs (Fried Egg Flowers)

and 3 strands of 2 colored green floss for the leaves and dotted the tree
with white glass beads and button star.

and a piece of Rick Rack for the trunk, just like the picture.

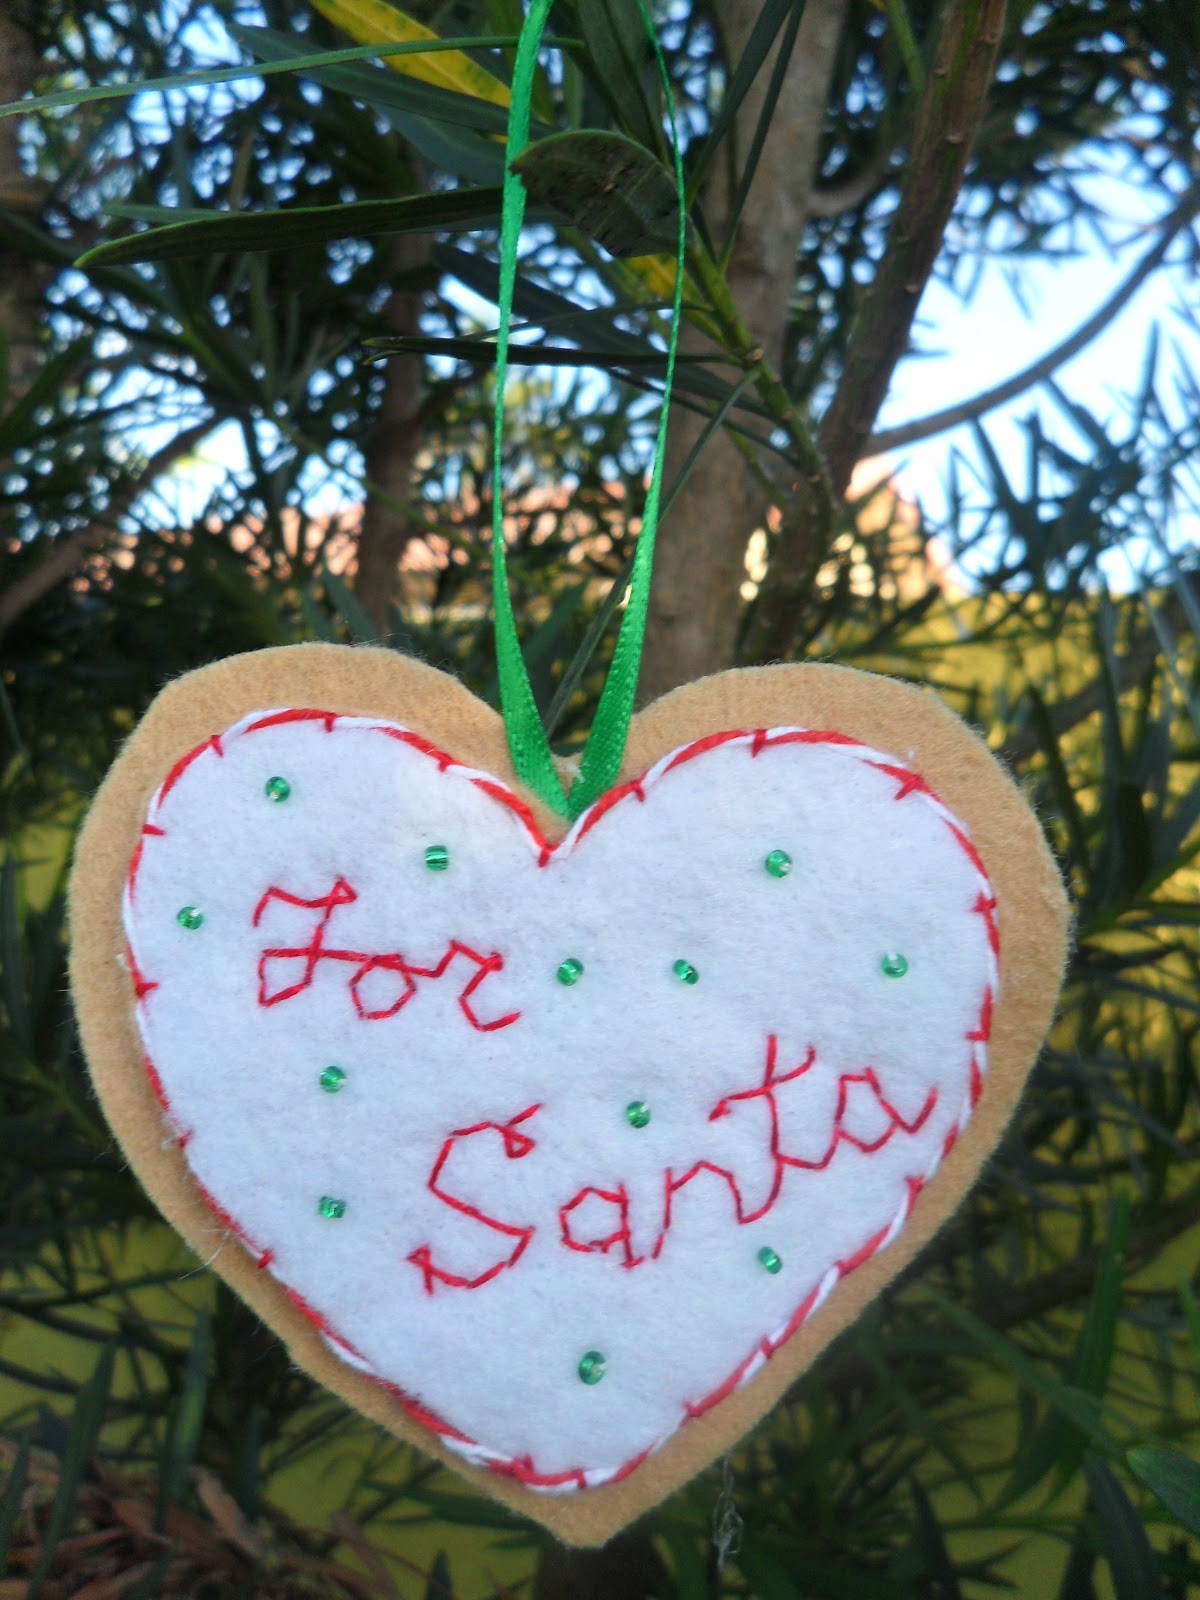
For the Santa cookie, I used baker's twine which is much thinner than what the picture depicts but that's what I had that was similar. I just attached with a small stitch every half inch or so.

I also scattered green glass beads here and there like the picture.
My embroidery was not as flowy and cursivey as I would have liked since I was doing it in a jiffy (literally, I didn't even sit down) It looks a little jerky so close up!
I might try this again to improve the embroidery: one to keep and one to share!

I only used hot glue to join the top felt to bottom outline felt.

My plan was to do more but time did not allow.

Maybe I'll add a couple for Monday ; )
Your felt ornaments turned out really pretty.
ReplyDeleteI love Mary's stuff too! Who wouldn't? That wrapping paper is super cute and you ornaments are adorable!
ReplyDeleteYou must be itching for summer to start? Hang in there!
This comment has been removed by the author.
ReplyDelete