
For Teachers


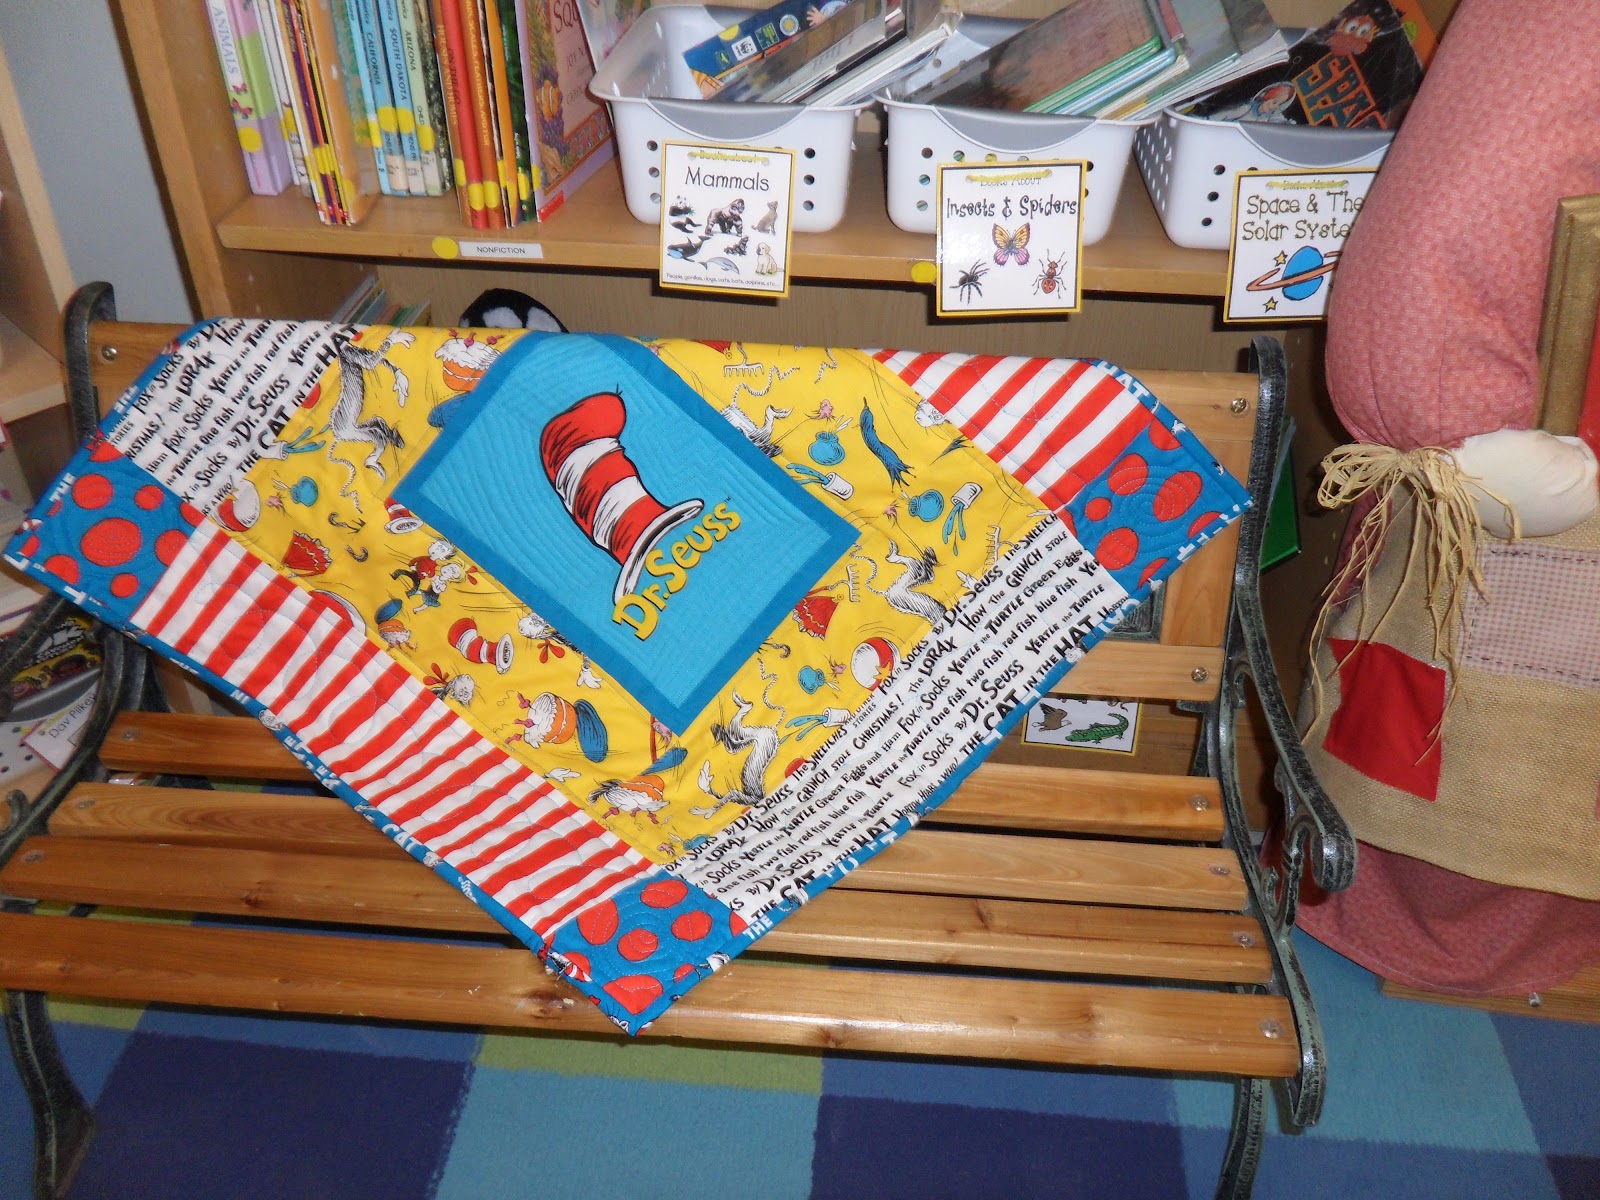
Dr. Seuss/ Cat in the Hat Mini Quilt

 
For this teacher sign, click here then follow the "Clever Letter" posts.


One of my daughter's teachers had a Bumble Bee Theme for her classroom. I couldn't resist the opportunity and I made her this "Bee Smart" Banner, it was one of my beginning "real" quilting projects. The yellow fabric has little bees buzzing around and I mirrored that with the swirly quilting stitch in the background. I used the Cricut to get the large letter patterns.
 

I also thought up this "bee hive" cup for her pens and pencils. I wrapped thick cord in yellow fabric and hot glued it around a mug. My husband sawed off the handle for me, and I embellished it with bumble bee iron ons.


A pretty stool for the teacher

1. Hot glue batting onto seat.
2. Lay stool upsidedown on fabric square.
3. Pull sides over the bottom of seat
(fold over for a neater look)
and  hot glue.  (It's tricky around the legs)
4. Hot glue fancy trim around the side.
It really takes about 15 minutes
once you get the hang of it.


Personalized wooden sign

 
Personalized quilted banner


Popular posts from this blog

Christmas in July - "All I want for Christmas" Wall Hanging

It's here! The Christmas in July Blog Hop has started and I am stop #3 on the hop, so make sure you see what Amy and The Patchsmith have made so far.     I love a charm pack, it's a tiny sampler of a great fabric collection! I'd like to show you how to make this whimsical door or wall hanging for Christmas, it's an easy pattern to repeat with any Charm Pack.      What you will need besides fabric, sewing machine & thread! 1 Charms Square pack 2 Fat Quarters that coordinate with your charms and applique graphic Backing Fabric Lite Seam to Seam for applique (2-3 sheets) or whatever other fusible product you like Embellishments like buttons, Rick Rack or ribbon (depending on your project) Neutral (white) 2 1/2" strips for borders (4)   The  finished size is about 12" x 36" unless you add more sashing or borders.     The first thing you do is unwrap your charms pack and lay out all the squares. You will i

Friday Night Block Party: Pinwheels

Welcome to the Friday Night Block Party here at Summercrafter.  If  you missed the first one , don't worry there's another one today!  Every Friday I will be featuring a new quilt block and the name or names associated with it and a little history.         Today's featured block is the called the Pinwheel. (It's on the button above!) I love it because it means fun! It makes me think of ...       Ferris wheels     and cartwheels  and wind. The Pinwheel block, was created in the United States around the 1800's. It became a very popular quilt block pattern and continues to be used in a variety of styles. There are so many ways to accent the "blades" with the colors (light/dark) patterns and placement, both within and around a quilt.  And it's really not a difficult block to do, I'll show you three different kinds of pinwheel blocks to try. Look at mine. I was happy go lucky as I pieced all these pinwheel blo

Five Happy Pumpkins!

Welcome to my day of the FALL BLOG HOP hosted by Sheri at Sunshine in the Attic . Below is the schedule of other bloggers in the hop: September 19th  Sheri --  Sunshine in the Attic  September 20th Maggie --  Maggie's Empty Nest Days September 21st Susie --  Susie's Sun Room September 22nd Celine  -- Espritpatch   September 23rd  Yevette --  Evindie September 24th Judy --  Judy's Fabric Addiction  September 25th  Elaine -- Summercrafter   September 26th Patricia --  Quilting Lines Do pop over check out what they made, as for me? I have a  fixation with the Five Little Pumpkins Song.  It's been part of my teaching repertoire for many, many years.  So here is my latest rendition I am calling it Five Happy Pumpkins. It's really easy to do, it does involve some applique but it's as easy as "cut and paste!"   Updates in yellow! These squares started out at 3 inches. Draw a diagonal across from co