
Oh Christmas Tree


The original design I saw was  made with fabric, cushioned with batting in the back with that "fluffy indented look" where the tacs were. But I wanted to make a *short cut version for the classroom and the photo ornaments of the kids would slide right behind the ribbon. but  1) It wasn't finished until Christmas Eve (too late to for classroom purposes) and  2) No ornaments made or pictures developed either.


Total size about 2 ft. tall.

Short cut version involves:
Foam Board (any size)
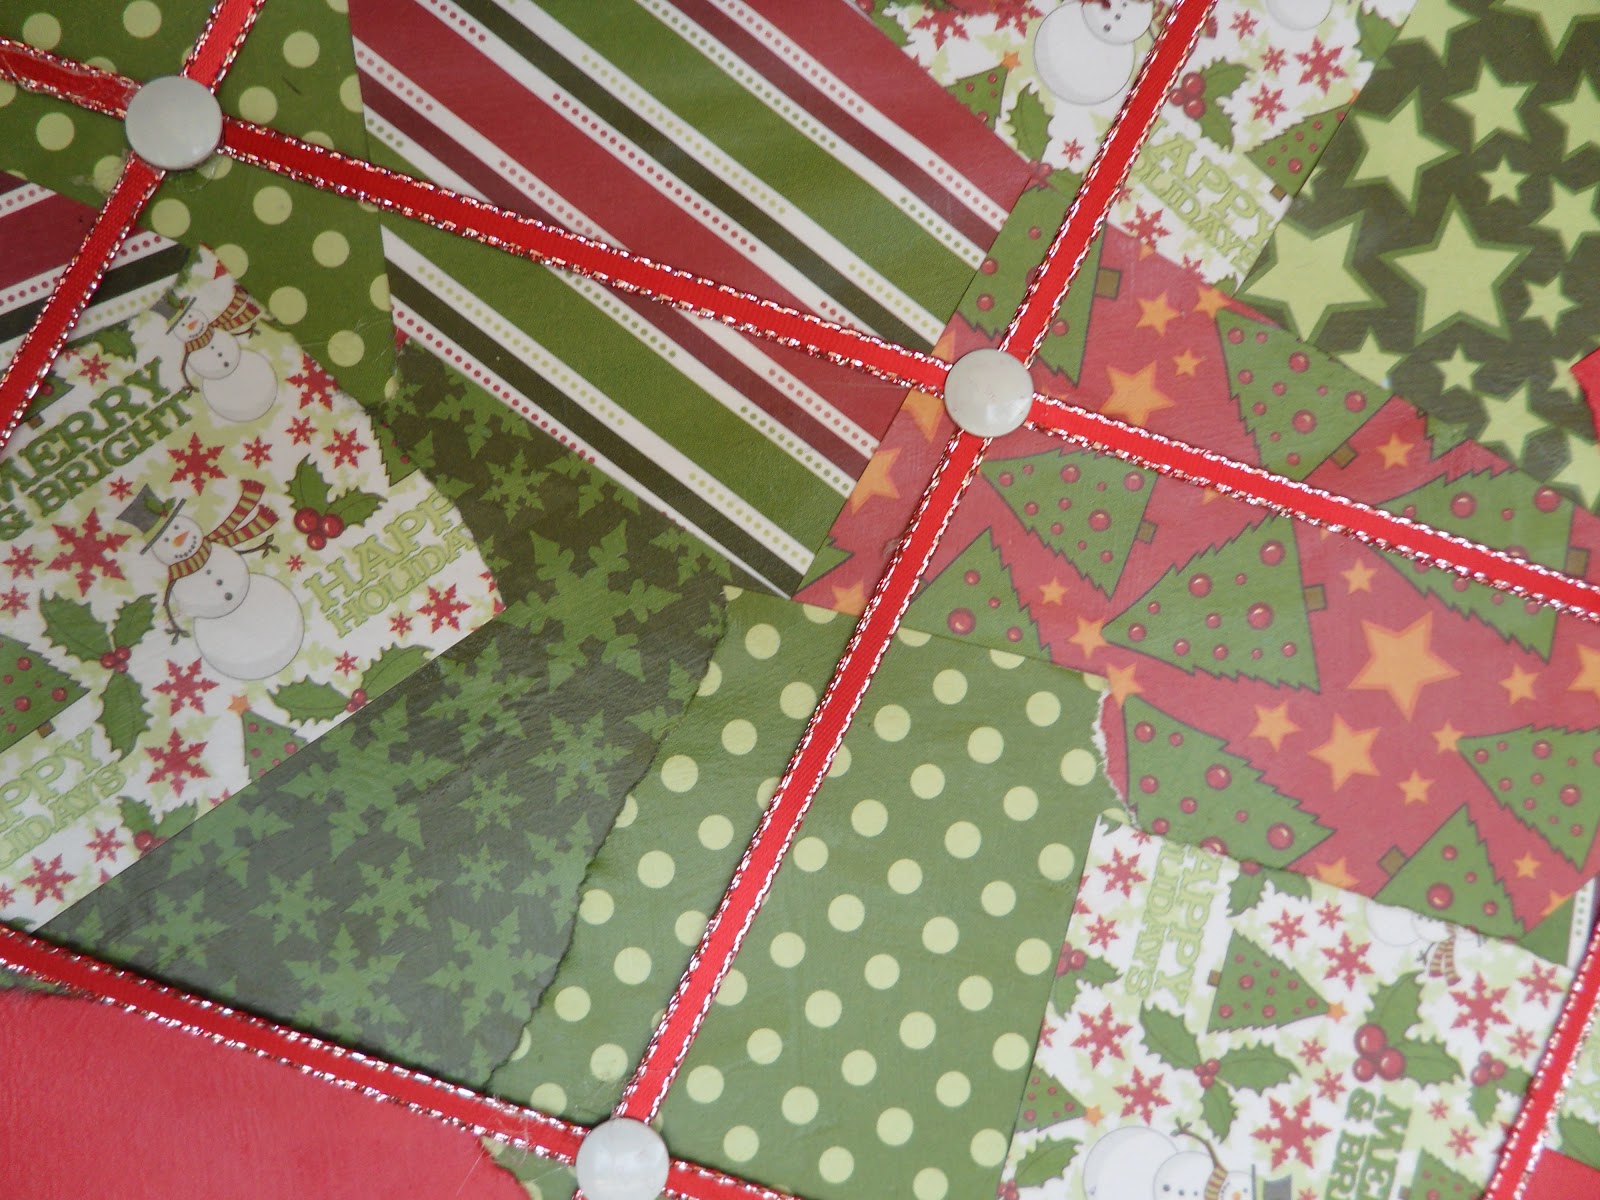
Assorted christmas patterned paper
(I used $1.00 pack of patterned christmas paper from Joann's)
Exacto knife or sharp blade to cut foam board
Modge Podge
ribbon
tacks
hot glue
Scissors only to cut ribbon!!!

How to:
1. Draw a Christmas tree shape on board or a giant triangle!! 
2. Cut traced shape with exacto knife
2. Paint some Modge Podge on a small part of the board
3. Rip a piece of paper and paste it down ont he Modge Podge
4. Repeat until the whole board is covered with paper, it doewsn't matter if there is a white piece showing on the paper (no fixing allowed!)
5. Hot glue ribbon end to back of board and stretch across tree and hot glue on the other side of tree (on the back of board)
6. Repeat until you have a grid pattern
7. Where ribbons intersect put a dot of hot glue and stick a tack in it.

**My problem was the foamboard I used was too thin and tacks stick out on the back just a wee bit.
Possible solutions? Put a dab of hot glue on point to soften or cover the back with batting and felt to make a clean finish (that's my plan)


Merry Christmas!


Comments

  1. It's very cute! I bet it would be a good way to hold some Christmas cards, too!

    ReplyDelete

Post a Comment

Everyone enjoys a fitting reply; it is wonderful to say the right thing at the right time! Proverbs 15:23. I"m all ears!

Popular posts from this blog

Christmas in July - "All I want for Christmas" Wall Hanging

It's here! The Christmas in July Blog Hop has started and I am stop #3 on the hop, so make sure you see what Amy and The Patchsmith have made so far.     I love a charm pack, it's a tiny sampler of a great fabric collection! I'd like to show you how to make this whimsical door or wall hanging for Christmas, it's an easy pattern to repeat with any Charm Pack.      What you will need besides fabric, sewing machine & thread! 1 Charms Square pack 2 Fat Quarters that coordinate with your charms and applique graphic Backing Fabric Lite Seam to Seam for applique (2-3 sheets) or whatever other fusible product you like Embellishments like buttons, Rick Rack or ribbon (depending on your project) Neutral (white) 2 1/2" strips for borders (4)   The  finished size is about 12" x 36" unless you add more sashing or borders.     The first thing you do is unwrap your charms pack and la...

Christmas Once a Month Project #5

First, I must beg your pardon as I overlooked the date (15th) for the Christmas Once a Month posts as outlined  here  at Julie's blog. I don't know now if I'm ahead or behind?    In any case, I do hope this project will make up for my oversight. I have had this pattern on my mind since I first worked with half square triangles on this project .  I am happy to say this is one of my own inventions, as I did not use any pattern. Yay! I started with a clear idea and made the rest up as I went along! Some people collect scraps for a giant scrappy quilt, I prefer more immediate gratification by making something more compact in a fraction of the time! Truthfully, finishing something (like a quilt) gives me great satisfaction and a sense of accomplishment I don't get doing other things;  I'm addicted! One perk was that I did it entirely with leftovers: Squares, 5 inch charms and smaller 2 1/2 inch squares, various strips...

Friday Night Block Party: Pinwheels

Welcome to the Friday Night Block Party here at Summercrafter.  If  you missed the first one , don't worry there's another one today!  Every Friday I will be featuring a new quilt block and the name or names associated with it and a little history.         Today's featured block is the called the Pinwheel. (It's on the button above!) I love it because it means fun! It makes me think of ...       Ferris wheels     and cartwheels  and wind. The Pinwheel block, was created in the United States around the 1800's. It became a very popular quilt block pattern and continues to be used in a variety of styles. There are so many ways to accent the "blades" with the colors (light/dark) patterns and placement, both within and around a quilt.  And it's really not a difficult block to do, I'll show you three different kinds of pinwheel blocks to try. Look ...