
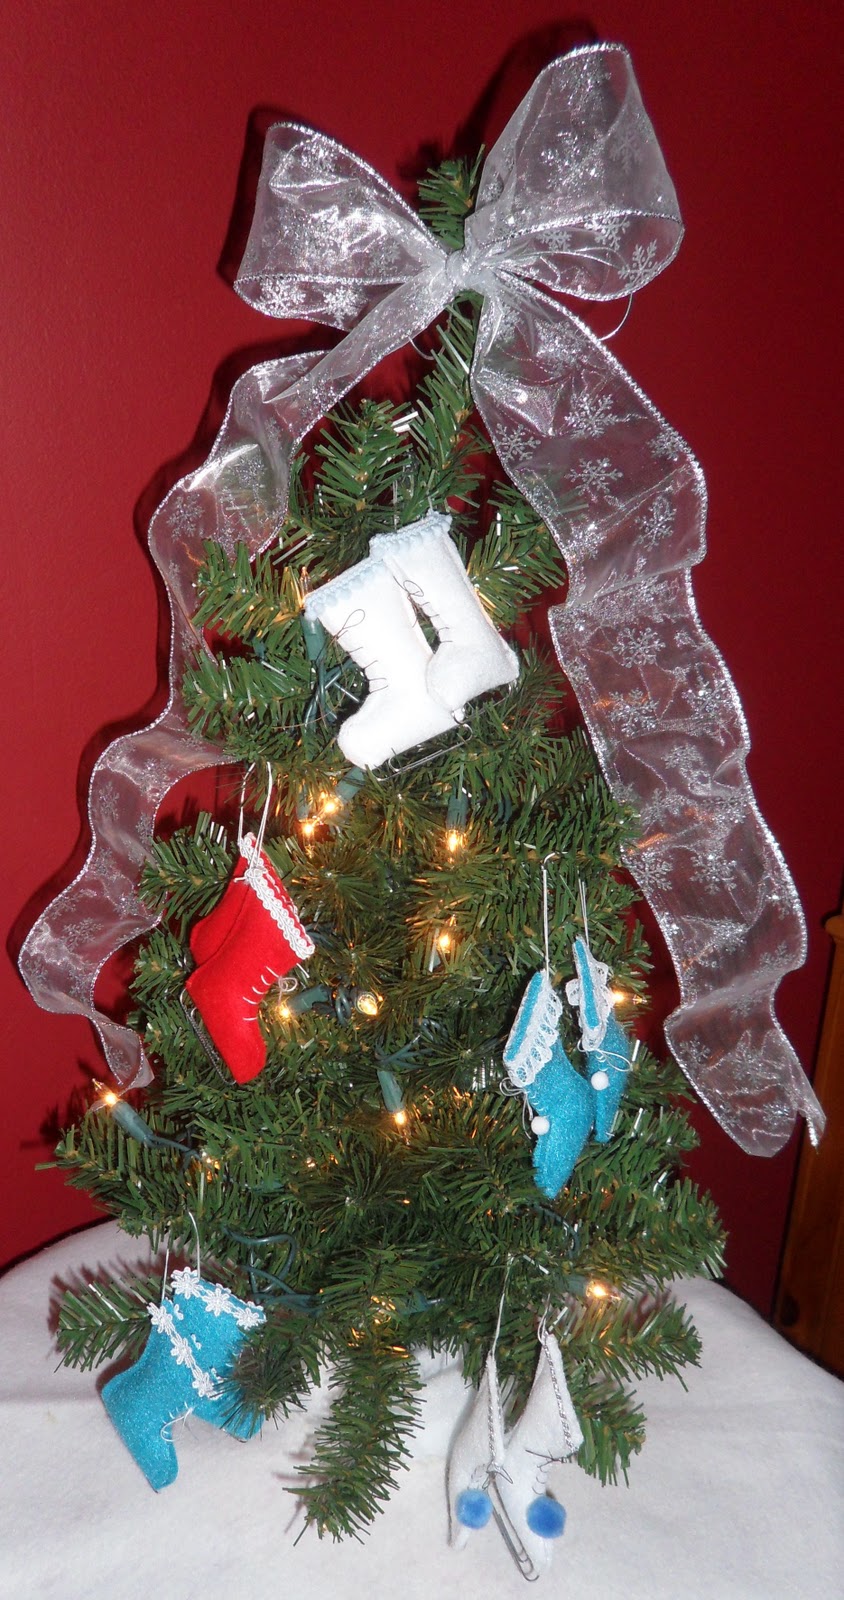
 I have more room now, but not enough tables or surfaces. I want to deck the halls with boughs of holly, and the rooms with mini Christmas trees but it is slow in coming! December has gone by so fast!!! Last year, I bought this 18 inch tree and put it on one of those round side tables that costs about five bucks in Kmart or Walmart. So I made this Ice Skate tree in winter colors. It’s decorated with shimmery snowflake ribbon for the topper, white lights—20 count, and ice skates made of felt, the blades are paper clips! This idea is from the featured magazine below. Once I made the original red pair of ice skates, I went to town making them in different blues and white and varied the embellishments. Now, I am on the hunt for ice skate décor, watch, that’ll be the new trend for next year. Pier 1 has a knitted pair but they’ll be cuter when they are 75% off!
  |
| Ice Skate craft idea from this 2010 issue |
What did I add for this year? I added some wool snowmen around the bottom branches of the tree, sorry no pics of those! I hung a mistletoe ball with a shiny red bow from the lamp in the foyer and displayed a wooden manger scene about 3ft. tall from a Harvest Fair and of course, more new ornaments from this year’s vacation. I tell you, I have had to stop myself from getting more ornaments the tree is full, but there is always a little room for one more : ). And one of my BFFs got me this folksy card holder that is really warm and fuzzy, it's great. She also thought I could quilt one and use that one as an example for size and style. Good idea! Here are more pics of the ice skate tree.

Here is the full look.

Close up of a pair of felt skakes.

Close up of Peanuts characters ice skating, made by me!
It add's a little festivity to that room in the house where we always are.
The skates look amazing! The Charlie Brown tree-skirt looks really fun too! LOVE IT!
ReplyDeleteThe felt skates are the cutest. How'd you do the Charlie Brown patches... no matter. It's another WOW! Faith >^..^<
ReplyDeleteThe Charlie Brown Patches I cut each character from Peanuts fabric and satin stitched (--very close stitch)all the way around to prevent fraying, it's like an outline around the fabric. I found Peanuts "caroling fabric" last year. NO ideas so far... I aslo added dark blue skates which, hmmm? are not showing.
ReplyDelete