
Paper Bunting in 30 minutes or less!

I am a poor party planner. With all the running around, the details always fall by the wayside, and no one really notices after all the time invested. So I don't sweat the small stuff for parties, not anymore.  How do I do a party? I get generic plates, character cake, some character decor $5 or less, a pool or a great location.  This year though, I really wanted a banner, which I now know is called "bunting" or "pennant."
 
So 2 hours before the party I get this great idea, which apparently is how they are born, racing against the clock.
 
Using a bottle cap, paint bubbles on cardstock. 

 
Sit in front of fan for speed drying.


Meanwhile, cut letters with the Cricut real size 3 1/2 inches.

 
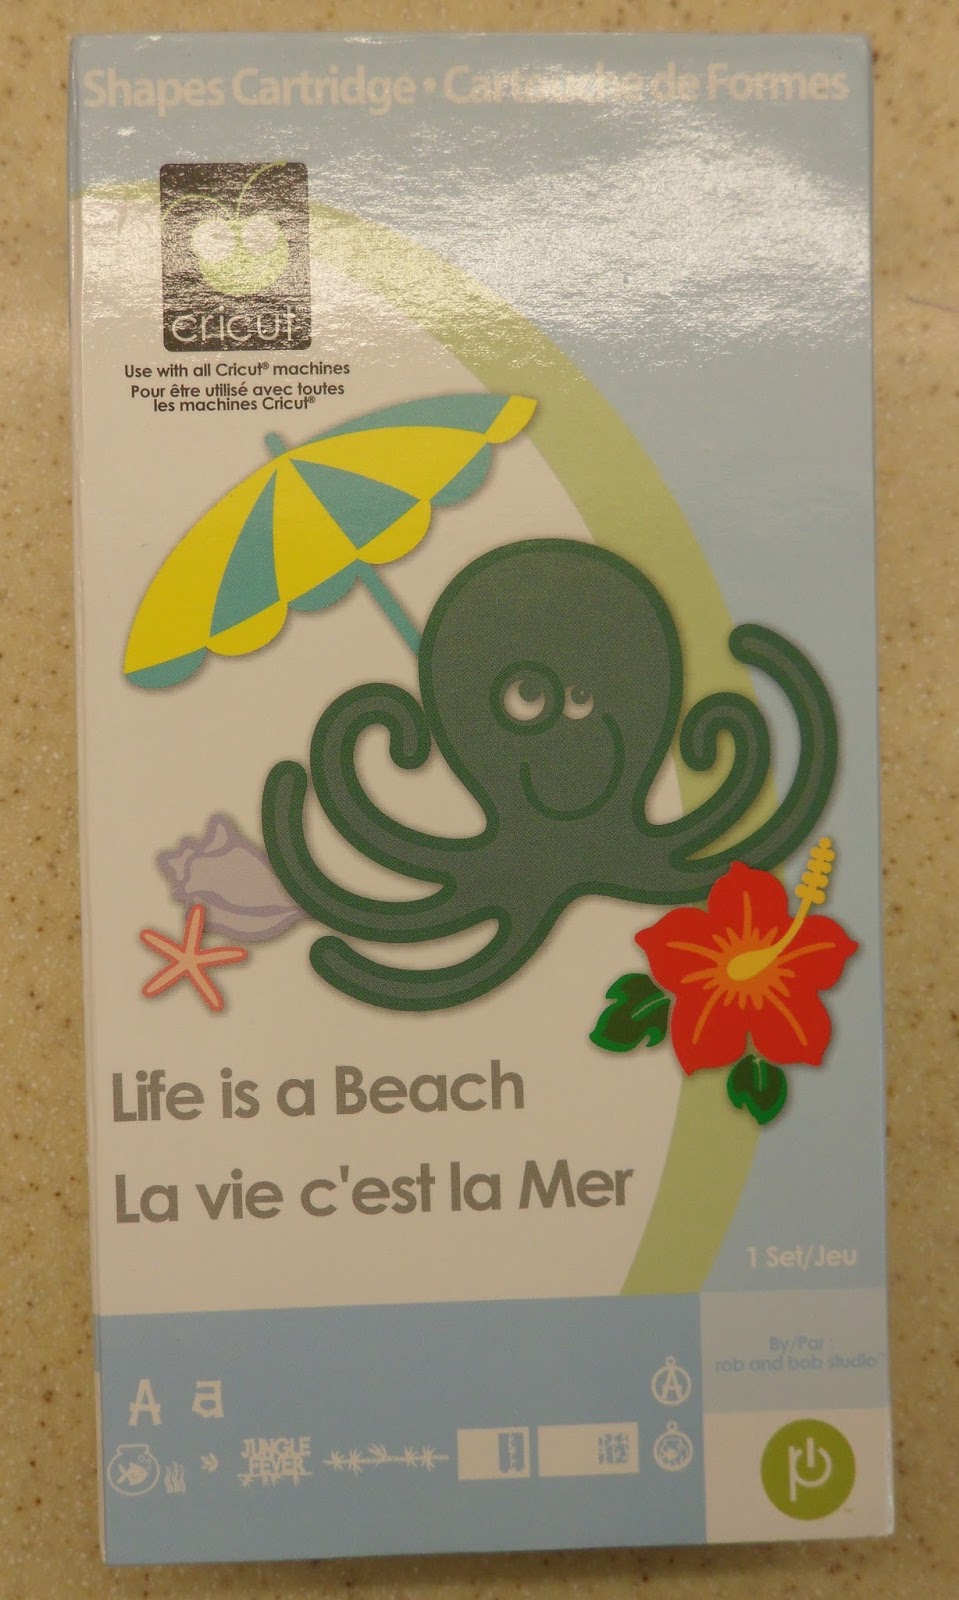
Although it has great "beachy" graphics, I used this Cartridge for the font.


When the paint is dry, mark on one side of the paper, the width of the top of the pennant. On the other side, mark the half point between the measurement of the top to indicate the point. (For example, if you want a six inch pennant, mark every 6 on side of the paper and 3 inches on the bottom. Your bunting will be the length you choose. I like it to be 2 inches longer than the width of the top but it could be double if you prefer, the wider, the longer!


Draw a zig zag line from the points at the top and bottom and cut on the line until you have as many pennants as you need.

Formula: Width of pennant divided by two equals where the point should be.
Width of the pennant plus 2 or times 2 equals the length.


 Glue letters, one per triangle.


I know, mine aren't all the same size ; )


Sew together (or hot glue) with binding tape, we used Ric-Rac for "ocean wave" effect. Don't leave space between the pennants they should just meet or be very close, not overlap.


Whew! That was fast and fun, off to get the cake, oh, and Happy Birthday!


Doesn't it go great with the theme?
 

Comments

Popular posts from this blog

Christmas in July - "All I want for Christmas" Wall Hanging

It's here! The Christmas in July Blog Hop has started and I am stop #3 on the hop, so make sure you see what Amy and The Patchsmith have made so far.     I love a charm pack, it's a tiny sampler of a great fabric collection! I'd like to show you how to make this whimsical door or wall hanging for Christmas, it's an easy pattern to repeat with any Charm Pack.      What you will need besides fabric, sewing machine & thread! 1 Charms Square pack 2 Fat Quarters that coordinate with your charms and applique graphic Backing Fabric Lite Seam to Seam for applique (2-3 sheets) or whatever other fusible product you like Embellishments like buttons, Rick Rack or ribbon (depending on your project) Neutral (white) 2 1/2" strips for borders (4)   The  finished size is about 12" x 36" unless you add more sashing or borders.     The first thing you do is unwrap your charms pack and la...

Christmas Once a Month Project #5

First, I must beg your pardon as I overlooked the date (15th) for the Christmas Once a Month posts as outlined  here  at Julie's blog. I don't know now if I'm ahead or behind?    In any case, I do hope this project will make up for my oversight. I have had this pattern on my mind since I first worked with half square triangles on this project .  I am happy to say this is one of my own inventions, as I did not use any pattern. Yay! I started with a clear idea and made the rest up as I went along! Some people collect scraps for a giant scrappy quilt, I prefer more immediate gratification by making something more compact in a fraction of the time! Truthfully, finishing something (like a quilt) gives me great satisfaction and a sense of accomplishment I don't get doing other things;  I'm addicted! One perk was that I did it entirely with leftovers: Squares, 5 inch charms and smaller 2 1/2 inch squares, various strips...

Friday Night Block Party: Pinwheels

Welcome to the Friday Night Block Party here at Summercrafter.  If  you missed the first one , don't worry there's another one today!  Every Friday I will be featuring a new quilt block and the name or names associated with it and a little history.         Today's featured block is the called the Pinwheel. (It's on the button above!) I love it because it means fun! It makes me think of ...       Ferris wheels     and cartwheels  and wind. The Pinwheel block, was created in the United States around the 1800's. It became a very popular quilt block pattern and continues to be used in a variety of styles. There are so many ways to accent the "blades" with the colors (light/dark) patterns and placement, both within and around a quilt.  And it's really not a difficult block to do, I'll show you three different kinds of pinwheel blocks to try. Look ...