
 The Better Homes and Gardens publishers have some great magazines. For some reason, I really like their layout and although I have seen others, these are still my favorite, and the ones I buy repeatedly. This one featured [Holiday Crafts] is a great magazine that comes out every year before the Holidays. It's supposed to come out in August but I never find it until October! It has great ideas that are very doable and easy to modify to your own tastes or supplies. Naturally, after I browse through and mark the pages (with tons of sticky notes), I make a list of things I don't already have, which are few, but nevertheless, a trip to the craft store is necessary!! List? check. Coupons? check. Sales fyer? check. If I come out with ONLY the items on my list, it's quite an accomplishment and a rare occasion, although it has happened before. : )
The trend I have seen a lot of this year is wreaths made of yarn. I found them in this magazine and I have seen some images of other beatifully yarned sensations at ornament girl. They are certainly easy enough, though tedious according to my sister, but the possibilities are endless. Sometimes finding a theme,or style for a craft is the hardest part, that's why making them for others can prompt so many ideas! My first go at it, as with many of my crafts, will be a Mary Engelbreit style; it's an easy theme for me to start with. Here is my first yarned wreath with classic ME black and white check with her FEF flowers. Very Mary and bright. I made this for the door to the hallway. The next one will be a classic design for my mom, let's see what else occurs to me.
Tip: Wrap yarn around your hand so you have about 2-3 layers overlapping, this is how much you'll need for a 2 or so inch section. I did it in sections.

How to: I held the wreath with my knees (vertically) and went around and around grabbing the yarn with each hand, over and under. Wrap the yarn snug, but not too tightly or the foam will start crumbling. After the third or fourth section, I got the hang of it. Then I went back and fix the parts I had already done.When you do the second layer, look closer so you can fill in the gaps where the styrofoam shows through. This wreath is the most inexpensive about $2.99 the "square" kind at the craft store. I did get the rounded one just in case but this did the trick and weighs nothing. The rounded one I am saving for the felted wreath, also featured in the magazine. Be back later with than one.
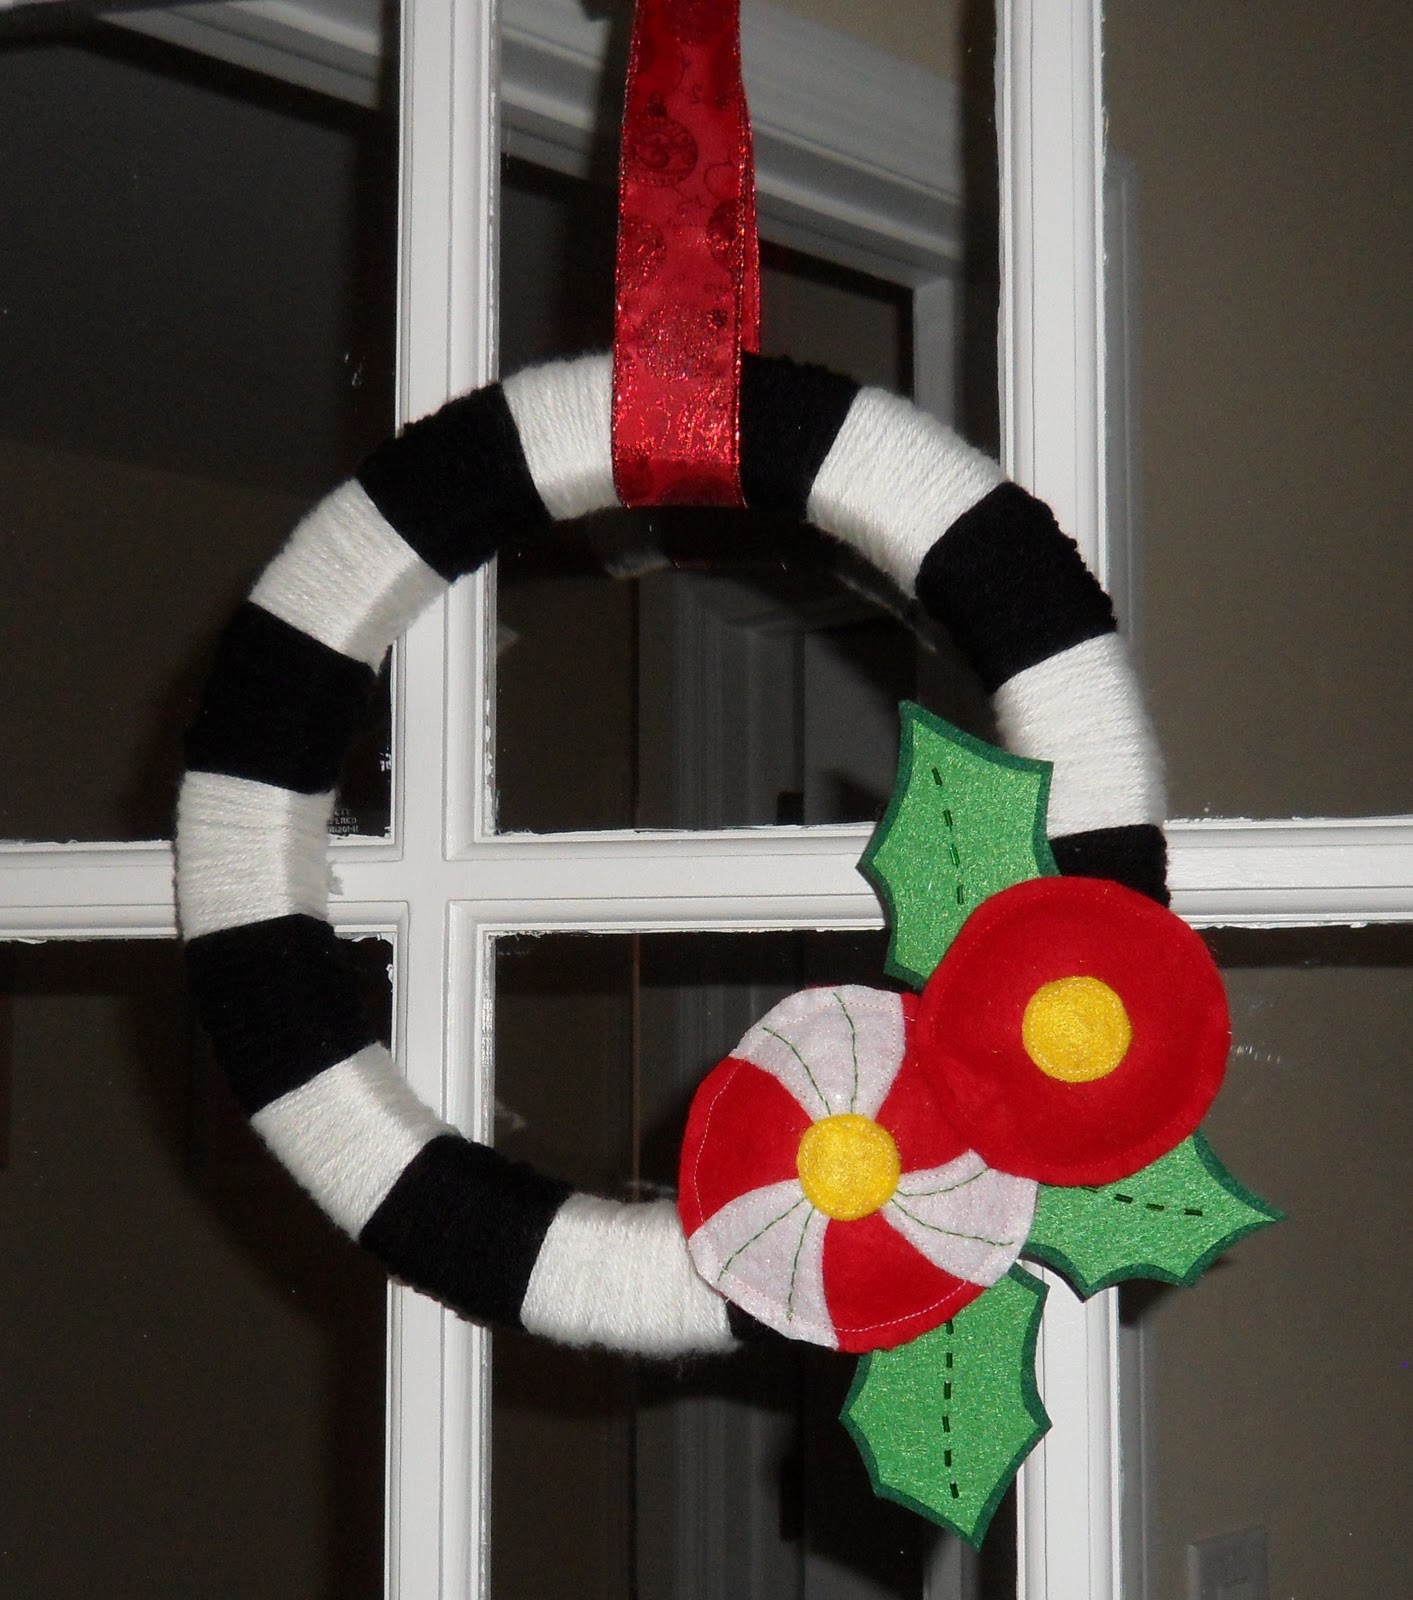
Hanging on the hall door.

Detail close up. Flowers are sewn and stuffed slightly.
Hi!
ReplyDeleteLOVE the wreath! Starting to work on one myself! It came out very nice, and I think the colors look great together! Can't go wrong with black & white and a dash of color!