
This craft was born from a gift I received for Christmas from a little girl named Kelly. She gave me a cinnamon broom decorated like Rudolf,the red nosed reindeer in 1989 or 1990.


 |
| Cat in the Hat with |
Back then, I was teaching pre-school, and my students were 3 ½ years old. The children and I had so much fun. We sang, we finger played, we read stories, we did lots of art, and sometimes we wouldn’t even follow the schedule! It was the best job ever. I loved going to work, it was a blast and the children learned, go figure! Sometimes the planning and scheduling were a little off, but creativity always saved the day! So, 20+ years later, I think about going back to that: the fun, the joy, the creativity, the freedom. I asked a watercolor teacher I once had “why do we find out what we love to do so late in life?” she said “That is part of the journey.”
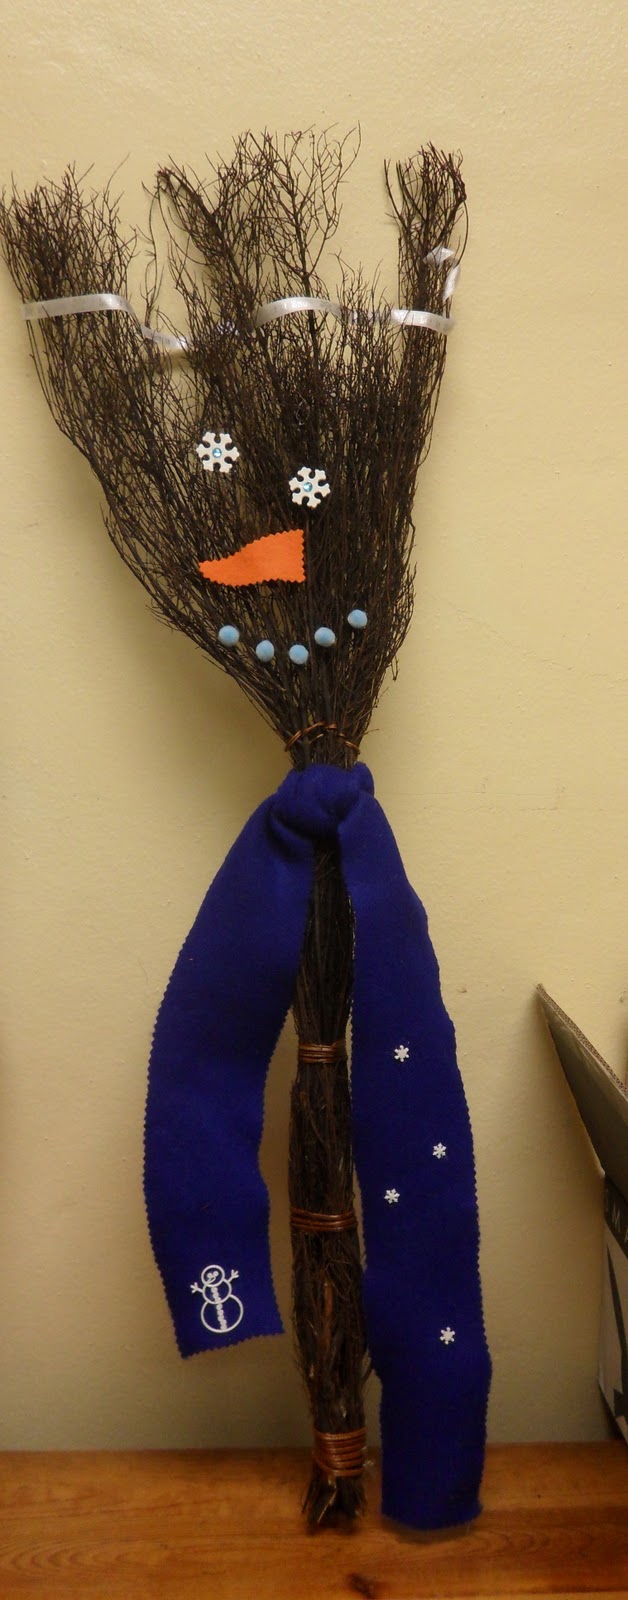 |
| Winded Snowman |
Looking back over those pre-K years, I have contemplated returning to a classroom of 3 and 4 year olds. I don’t know if I am sounding a little like my dad. He was an immigrant and always talks about how things used to be in his country. And I wonder, if indeed, his country was all that grand, or if it was the youth that he left behind?
But I digress….Brooms! Last year I did a craft class at work and everyone decorated their own. I ordered them from here, in different scents. The ones shown are the 36 inch variety from the grocery store, they seem to be out of this size at this time of the year. Order in October! They still have lots of other sizes and if you click on a broom there is a drop down menu with the different scents.
I have piggy backed on the Reindeer broom idea, with many, many more ideas, some are shown. But just last night, I did these, a “shotgun” craft for a teacher who wanted these to give away as gifts. I kept the theme true to that Holy Night long ago, with an Angel and a Shepherd.
 |
| The first one, a Cat |
But I digress….Brooms! Last year I did a craft class at work and everyone decorated their own. I ordered them from here, in different scents. The ones shown are the 36 inch variety from the grocery store, they seem to be out of this size at this time of the year. Order in October! They still have lots of other sizes and if you click on a broom there is a drop down menu with the different scents.
I have piggy backed on the Reindeer broom idea, with many, many more ideas, some are shown. But just last night, I did these, a “shotgun” craft for a teacher who wanted these to give away as gifts. I kept the theme true to that Holy Night long ago, with an Angel and a Shepherd.

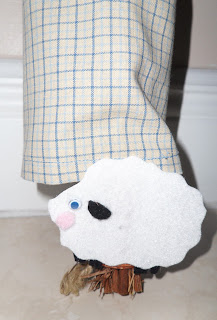
Shepherd Broom.


Lamb at his feet. Close up of staff and frock.

Angel Broom

Close up of Angel satin gown and wings.

Angel singing "Glory to God in the Highest"
I love to make them and they are really getting more intricate, but sometimes I wonder if they are really cute or just quirky?
LOVE LOVE the reindeer brooms! Looks like something easy and fun to do with the kids!
ReplyDeleteTake a step back from the busy day... and do a craft with a child!
thanks for your comment! For a reindeer broom tie the "antlers" with 2 ribbons, add a giant red pom pom for rudolf's nose and finish off with a bow and jingle bell around the stick. super cute!
ReplyDelete